Windows 11, a new operating system from Microsoft, was just introduced. Windows 11 brought several new functionality and cosmetic changes when compared to previous versions of Windows. It has also added a tool for persons who have colour blindness.
Color Filters are featured in Windows 10 as well, although the new Windows 11 OS added some new colour options. If you suffer from one of the various varieties of colour blindness, you should turn on the colour filters.
Steps to Enable & Use Color Filters in Windows 11
As a result, we’ll go through how to enable and use Color Filters in the new Windows 11 operating system in this post. Let’s get this party started.
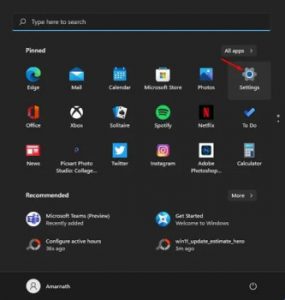
Step 1: To begin, press the Start button and select ‘Settings.’ Alternatively, you can open the Settings by pressing Windows Key + I.\
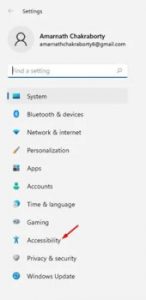
Step 2. Click the ‘Accessibility’ option on the Settings page, as seen in the screenshot below.
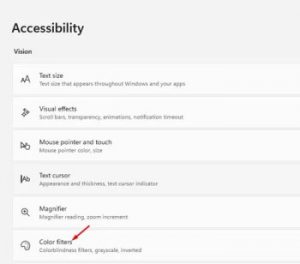
Step 3: Select the ‘Color Filters’ mode from the right-hand side pane, as shown below.
Step 4: As indicated in the screenshot below, enable the Color filters option.
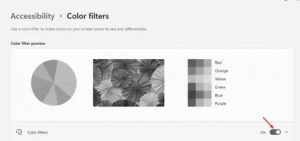
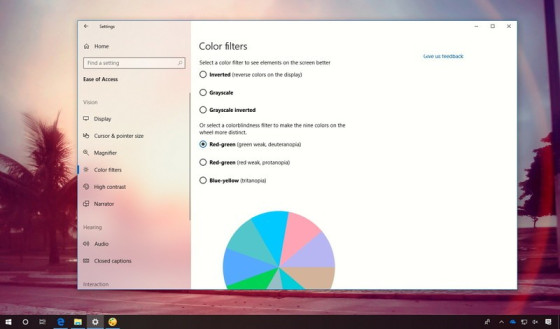
Step 5: There are six different types of colour filters underneath the Color filters.

Step 6: Select the appropriate choice based on your level of colour blindness. Use the circular button next to the colour filter choice to turn it on.
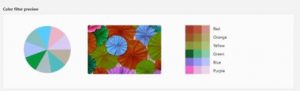
Step 7: A preview of the effects will appear on the Color Filters page.
That’s all there is to it! That’s all there is to it. Here’s how to use and enable Windows 11’s Color Filters.
This guide will show you how to use Windows 11’s colour filters. It’s my sincere wish that this post was helpful to you. Also, please spread the word to your contacts. If you have any more questions, please ask them in the comments area below.


